Atomic Monkey
-
Posts
381 -
Joined
-
Last visited
Content Type
Profiles
Forums
Events
Gallery
Store
Everything posted by Atomic Monkey
-
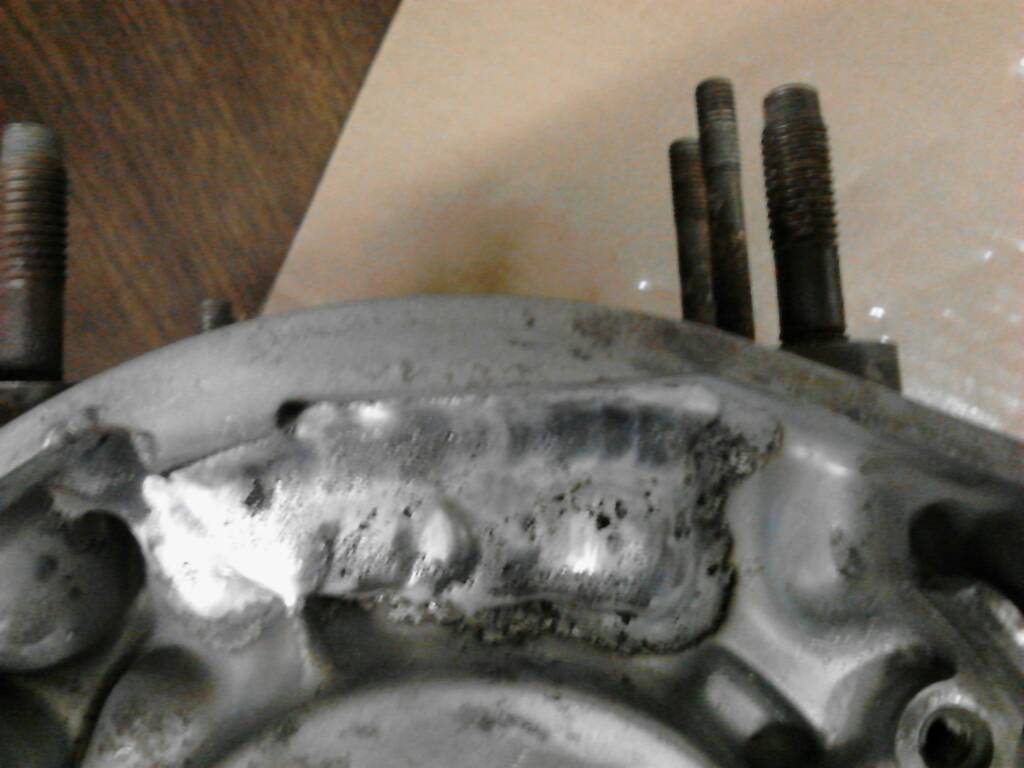
 Had the case welded today on the stator side to beef up the outside of the transfers in order to gasket match, and eliminate any worries of popping through.
-
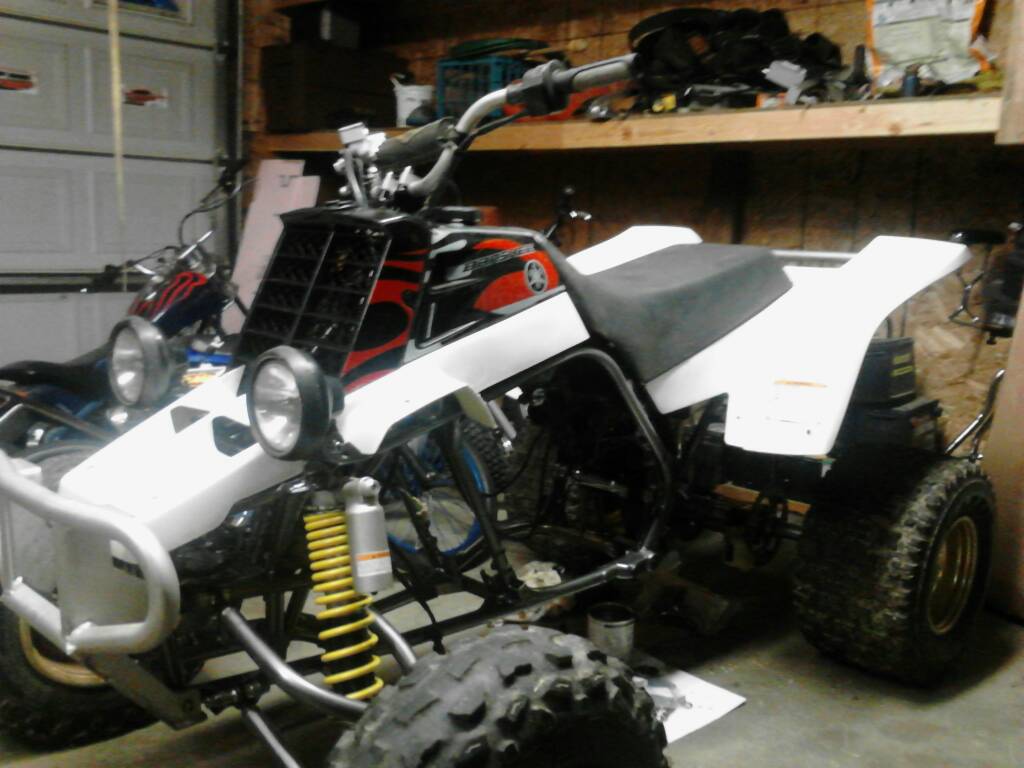
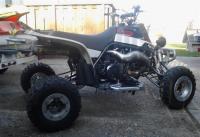
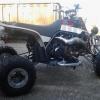
Just got the frame back from the powdercoaters!
Atomic Monkey replied to Atomic Monkey's topic in Banshee Appearance
Put the plastics on last night to check it out since I changed from the yellow fenders and red gas tank scheme. Also cut the fronts, probably leave the rears alone.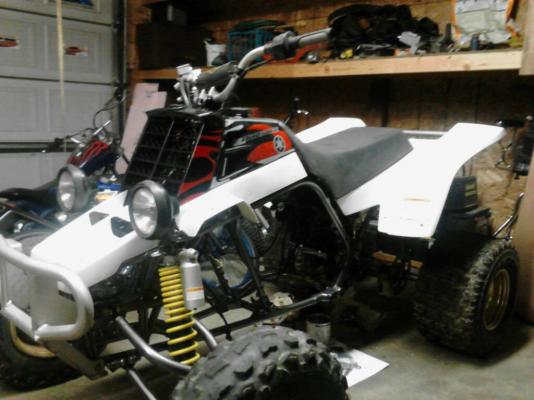
-
I'm doing a 4mil long rod with the 11882 piston. They're 1mm over deck with stock base gaskets instead of 2mm like the 795 or 573, and have the piston windows in the correct spot for the 4mil stroker. The 573 is a blaster piston and needs the correct dome shape... its different from the Banshee. The cheap way to use the 11882 piston is to get the thicker base gasket, or like I'm doing, adjust the port heights, and get the correct domes to compensate for the additional height. I think you can only find these pistons on Ebay.
-
Yes. They're meant to take up the 5mm of the longer rod when used with stock stroke. With the 4 mill you either have to run the spacer, or even better get the 11882 pistons with the 0.60 base gasket
-
whats best way to remove pc from engine gasket surfaces?
Atomic Monkey replied to jcam's topic in General Banshee Discussion
I think the best way it with acetone or MEK, but it sucks because they evaporate fast. I used MEK to strip my A-Arms, and it took it right off. Sanding just plugged up the paper, and don't like using Roloc disks on gasket surfaces that are aluminum. I would probably opt for a long flat file b4 the rolocs. -
LMAO! That's all I saw for the thread preview... and I knew it was about a boost bottle!
-
Jetting Pro Circuit platinum's
Atomic Monkey replied to DirtDiggler69's topic in Jetting & Exhaust Forum
Turn the air screws in a turn. -
Right, I was just looking at that thread with the broken shift forks, I'm just putting it out there.
-
I was just looking at another thread and saw a spring like that on the shaft for the shift forks. It was between the "chain side" case and shift fork.
-
MSV determines the width and squish. There's a calculation for it.
-
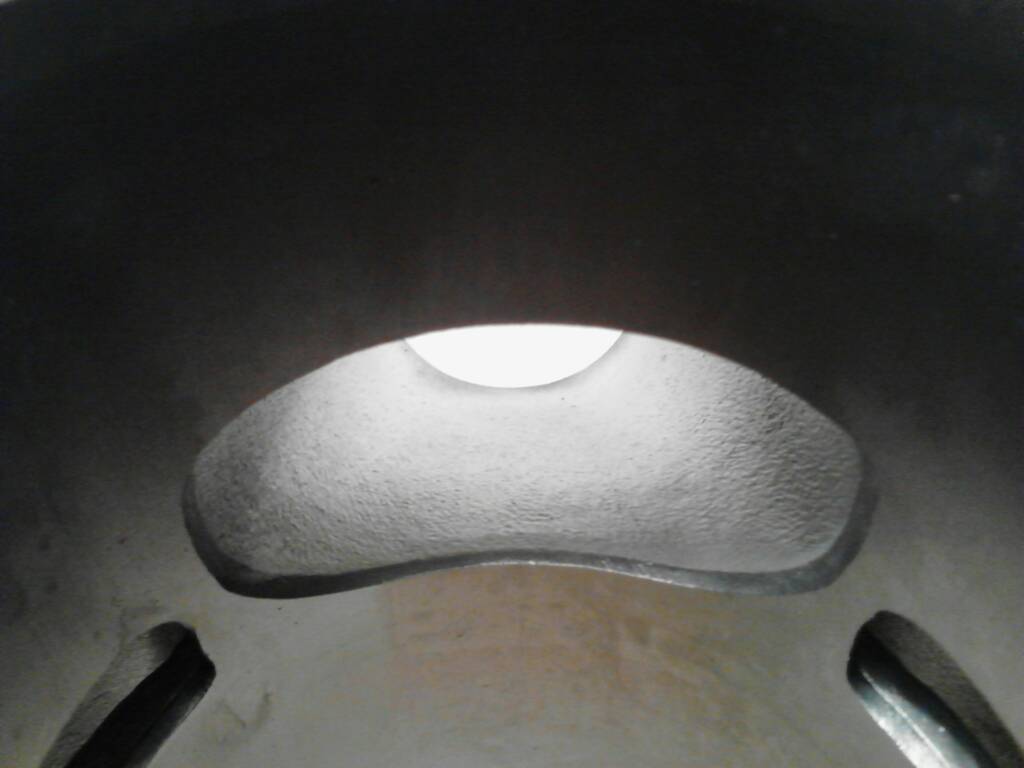
Thought I'd post up a pic of the sleeve side of the exhaust. Maybe there"s room to improve???

-
I have VF4 reeds coming from cleaned stock cages with Boyesen 2 stage. In mock-up, the intake did appear need some work to actually "use" VF4s. The problem I have with what I've done is how low the intake was dropped... it looks like a weak spot in the sleeve. That's the whole reason I'm looking into different cylinders. The intended purposes of my engine is the be a trail machine. For that reason I didn't worry about making the exhaust port as wide as I could've. DB.... what U got in mind?
-
I've been into snowmobiling for years, and from my experience... the power valve gives you the edge on the trails because the band comes in earlier. And when it's operating properly, it's not supposed to impede top end... it's there to spred the curve.
-
Yeah, not caring for the tunnel design on the Banshee... but it is what it is. I can see a definate advantage with a monoblock in being able to sculp the transfers better ( hint... next purchase!). But in dealing with things "as is", there's room to improve. Here's some of my ideas: #1: I wouldn't add boost ports or make the intake so large. I might raise and lower the outside edges, tapering the roof and floor biased towards the transfers for down flow. I would widen and taper the boost port at the outside edges, but not bring it any deeper into the intake than the reed tips. I don't want anything deeper than the reed tips. And I want the boost port directed a little behind the curve in the dome. #2: Enlarge the front of the primary tunnels. There's plenty of room to put a nice radius and contour up there from the case, into an arch that will make the flow aim at the boost port. Welding to fill the outside between the primaries and secondaries really helped with where and how much I could grind the divider. About all the secondaries will get is a little more direction towards the back of the cylinder, and having the kicker redirected/filled. The exhaust has been a little tricky to work out because of scavaging. What I did on these cylinders is try to make the return pulses flow directly across the piston to keep things in the chamber mixing/circulating in the same direction as the flow from the primaries. Ultimately I'm envisioning the return pulse is a cylinder "stuffer" while on the "band". Having it's flow help direct circulation, maybe not a bad thing... provided the split second it's open allows it to happen. Cheers, it's Friday!
-
Only if you brought enough for the rest of the class!
-
Well things are definately different behind the windows, especially in the transfer tunnels. Pretty much to direct the flow to where I believe it should go, and to support the little bit of additional displacement. The exhaust was raised and lowered (with the help of a couple of people... Thank You very much!), but not widened much in an effort to keep the motor from being really "peaky". I also opened up and blended the exhaust to the pipe flange. In some respects material removal has been conservative to retain velocity, and in other areas its biased towards higher flow rates to support larger carbs, higher RPMs, etc. This is an experiment, and I'm already planning on getting new cylinders... with what I've learned so far, I don't care for how the intakes are done.
-
Lol!
-
probably ended up with a bad connection for the ground using what I'm assuming are red "butt" connectors. Solder and shrink tube are the best way to do the wiring, and if you want to really make sure to avoid future problems, use liquid electrical tape on all your connections. I seal all my plugs, wire splices, etc. with it. Anyway the easiest way to check is to stuff a wire in with the Black wire in the headlight connector housing, and hold it on a good ground (a clean bolt on the frame)
-
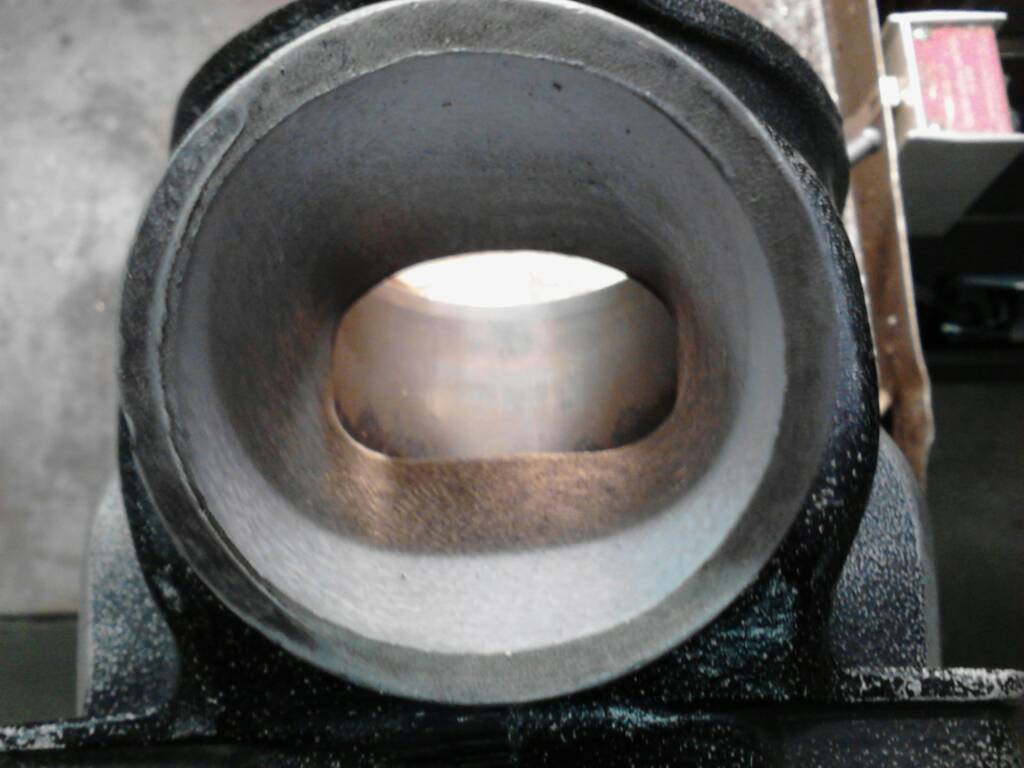
Here's the exhaust, just need to get in there and smooth out all the chatter marks
-
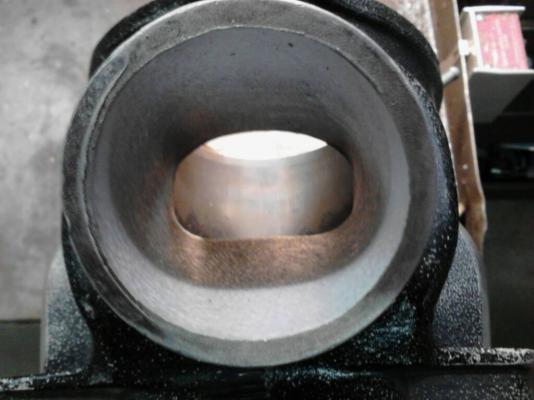
Well what I ended up doing was opening up the the port all the way around. I did grind away the bottom lip, and the roof and side have a slight perpendicular lead-in just so I could keep where the port comes throught the liner fairly square. That way when its bored it doesn't really affect the timing. Everything is nice and blended well, I think it turned out well. I'll post up some pics tomarrow!
-
Thoughts on getting an Advanced Timing Plate
Atomic Monkey replied to ETR174's topic in Banshee Repairs and Mods
^^^^ This! Youtube it and borrow a dremel -
I'm talking about the roof of the port itself, not the chamfer in the liner. The roof its flat, its got about a 1/2" lead-in before it turns down towards the pipe... maybe it turns the return pulse flat across the piston, and puts it under the fresh charge??? Seems like that could be the theory, then the return pulse would follow the same path the incoming charge does.... maybe.
-
I cut the exhaust tonight and there was an area at the top of the port that was level with the deck surface, starting at the liner to about 1/2" in b4 it turns down. Should I recut that feature into the roof again?
-
I could never find the measurement either. I took em apart and measured... can't find that either. But I want to say its somewhere around 5"
-
Lol! Somebody's been thread-mining! But you did bring it up at the right time. I was looking at those new pistons the other day wondering if there would be anything to be gained by opening those up??? And then a part of me just wants to try them "as is".... hmmmm